Site panels provide a convenient way for site managers to manage a preconfigured range of products, making it easy to add or remove items as needed. Common uses include guest ales, daily specials, and bin-end wines. This page outlines the steps to create a dedicated section for a site panel, which is added to a shared or local panel. Products are then added to this section, allowing managers to update items efficiently.
Site Panels Setup Topics
Adding Site Panels
Site panels can be added to any shared or local panel (within a theme panel design).
Follow these steps to add a site panel:
-
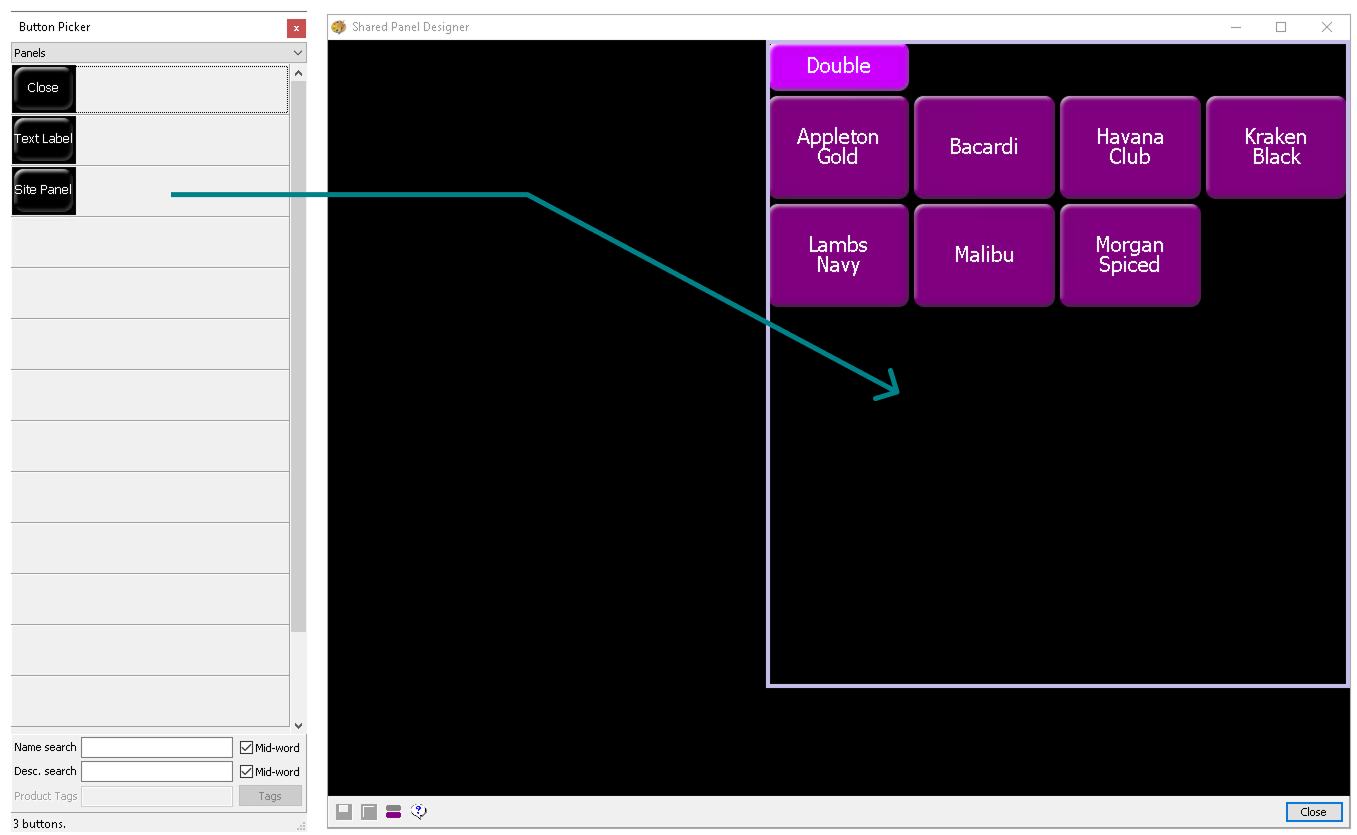
Open the required Shared or Local Panel
-
From the Button Picker navigate to Panels folder
-
Drag the Site Panel button on to the shared or local panel
-
Use the toggles on the site panel button to drag and increase / decrease the size
The size of the site panel will determine the amount of space onsite they have when adding products to this panel, the initial size is 1 x 1 button meaning only 1 button could be added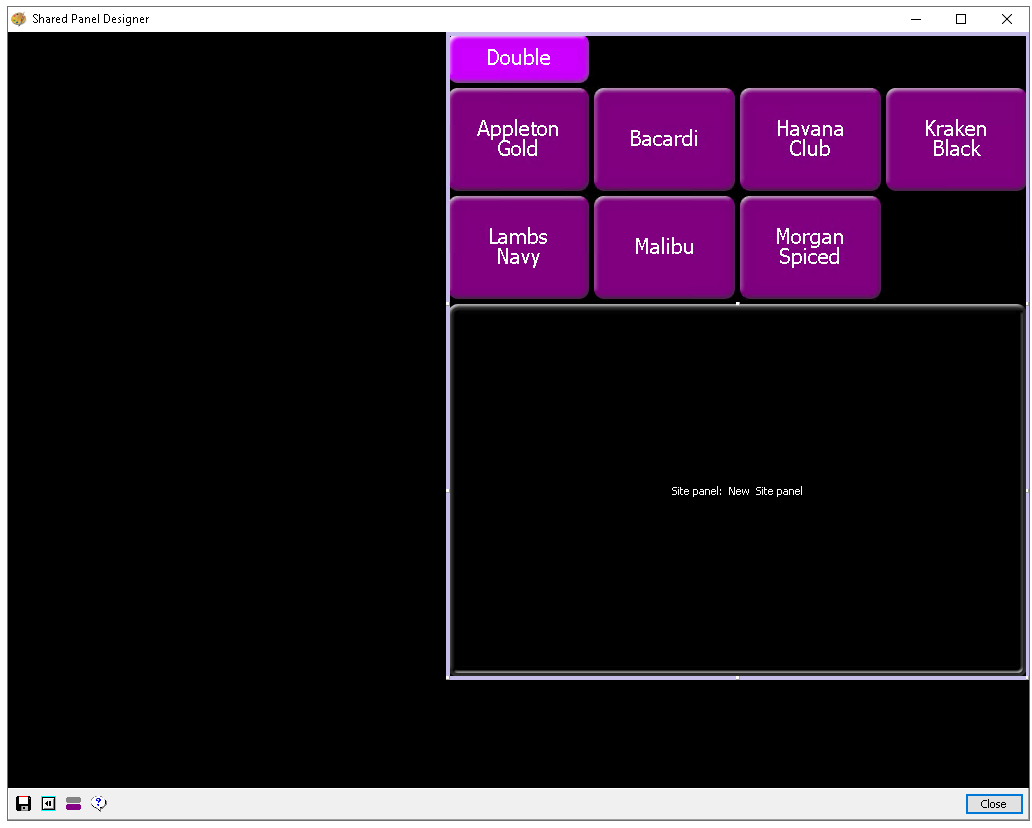 In this example the site panel has been resized to fill the bottom section of this shared panel
 -
Click Save
Adding Products Site Panels
Follow these steps to add products to site panels:
-
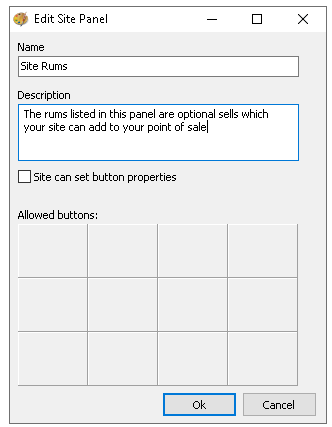
Double click the Site Panel added
-
Enter the Site Panel Name and Description (optional)
-
From the Button Picker navigate the required folders and drag the buttons on to the site panel grid (this can also include functional buttons as well as products)
While multiple products can be added when initially setting up the panel, only the specified space is available when adding items at site level. For example, if the panel is configured as 1 x 8, a maximum of 8 buttons can be added, even if more products were originally included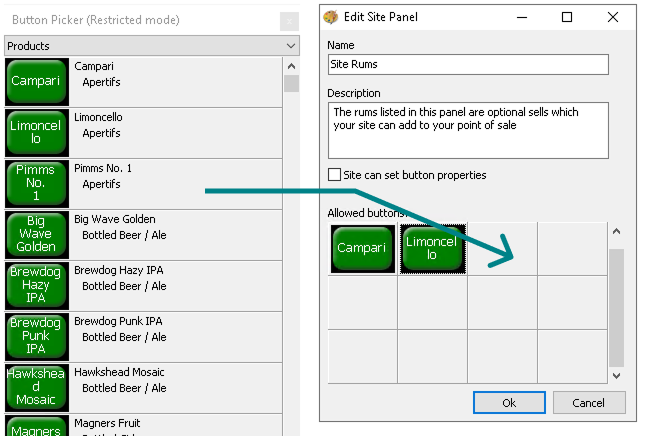
-
Double click the button in the grid to update the properties of the buttons as required, Override Button Text | Colour | Security - click OK
-
Select the check box 'Site can set button properties' if teams onsite can update (optional)
-
Click OK